Step 5
How to Make Snow with Your DIY Snowmaker
Preparation
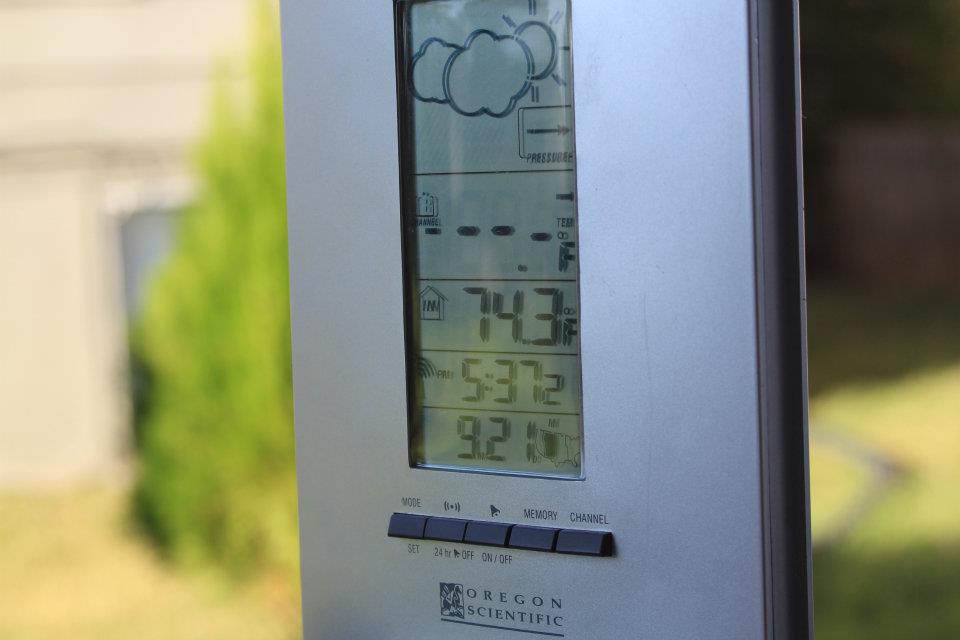
1a) Wait for Cold Temps
The first step, of course, is to wait for cold enough temps. As a general rule, 27° F (-2.8° C) is when you can start making snow.
Preparation
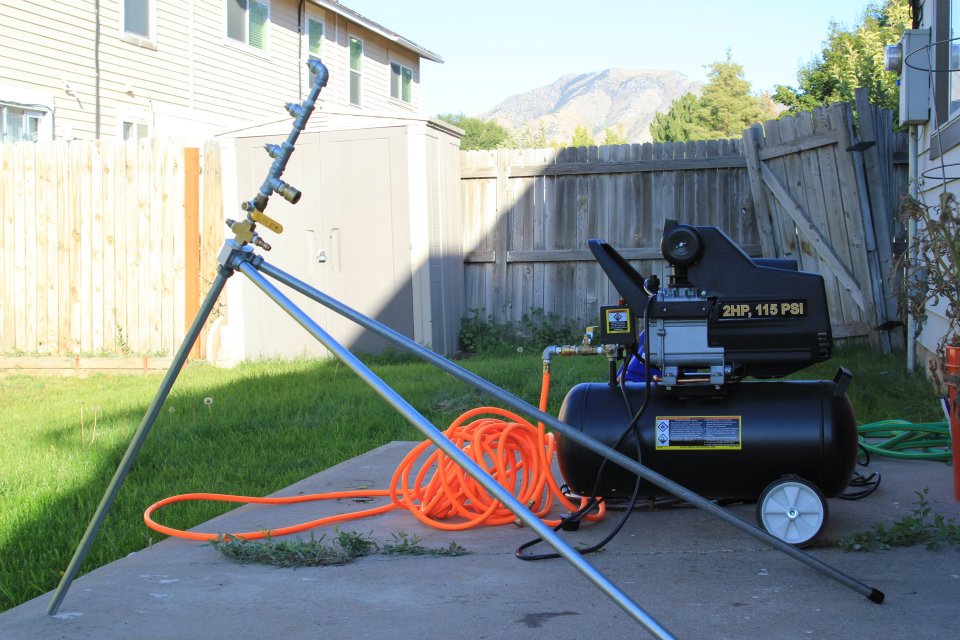
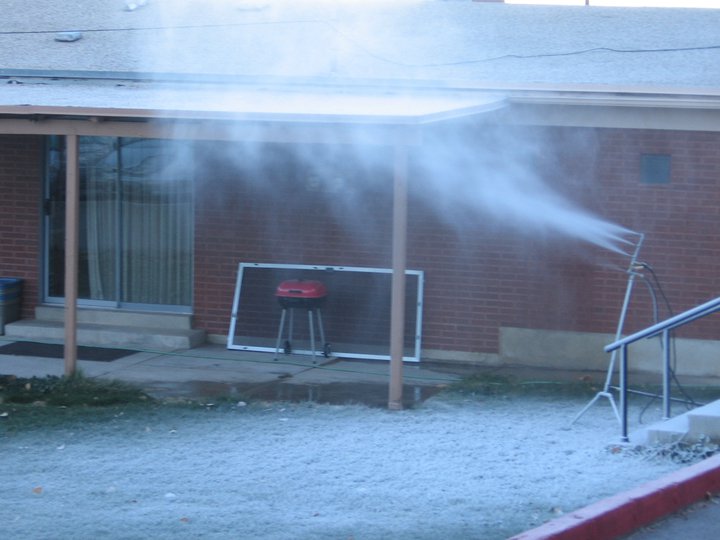
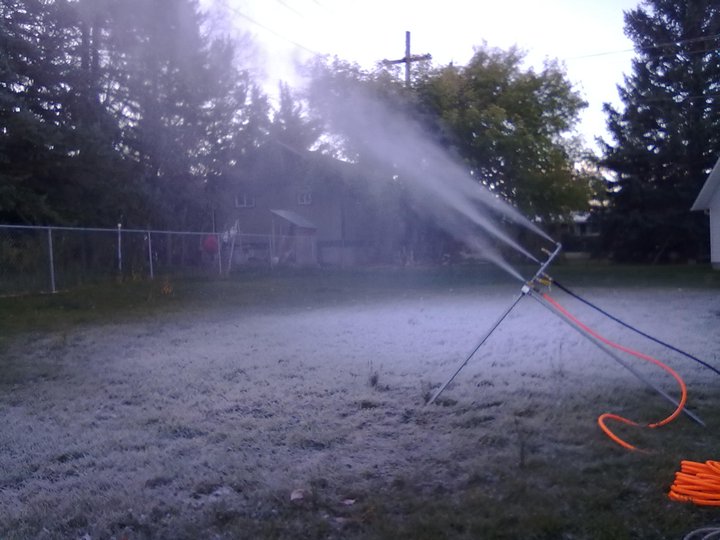
1b) Set Up Snowmaker
Next, using whatever stand system you'd like, set up your snowmaker in the place you like to make snow. Your snow will fall in a pile about 20' (6.0m) long and 8' (2.5m) wide.
Preparation
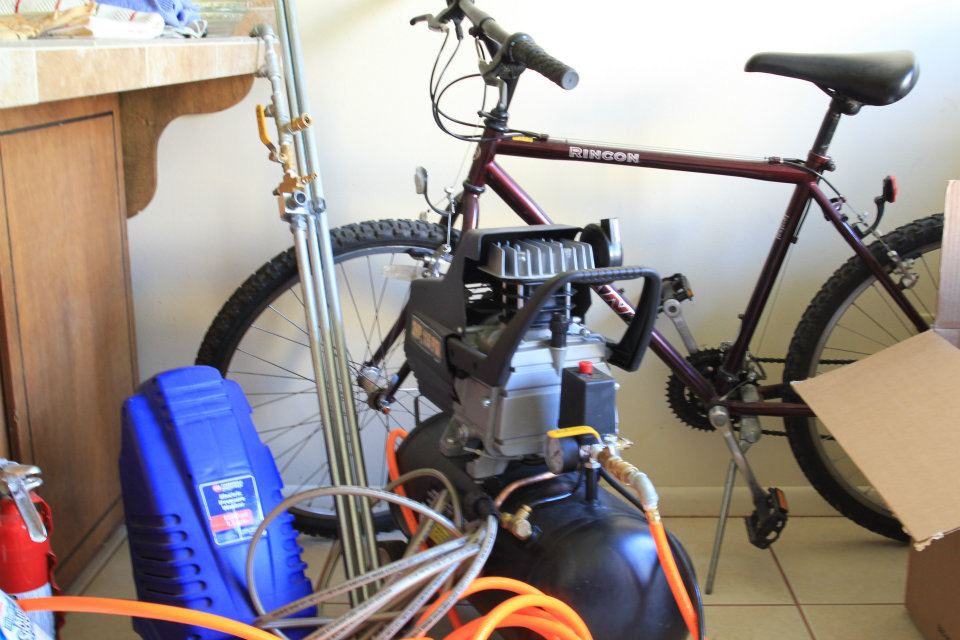
1c) Set Up Air Compressor
If it's electric, plug in your air compressor to power outlet. If it's gas powered, make sure the gas tank is full. Connect your air hose to the compressor and be sure your 1/4" FPT (Female) Quick Connect Body is attached to the end of the hose that will attach to the snowmaker.
Preparation
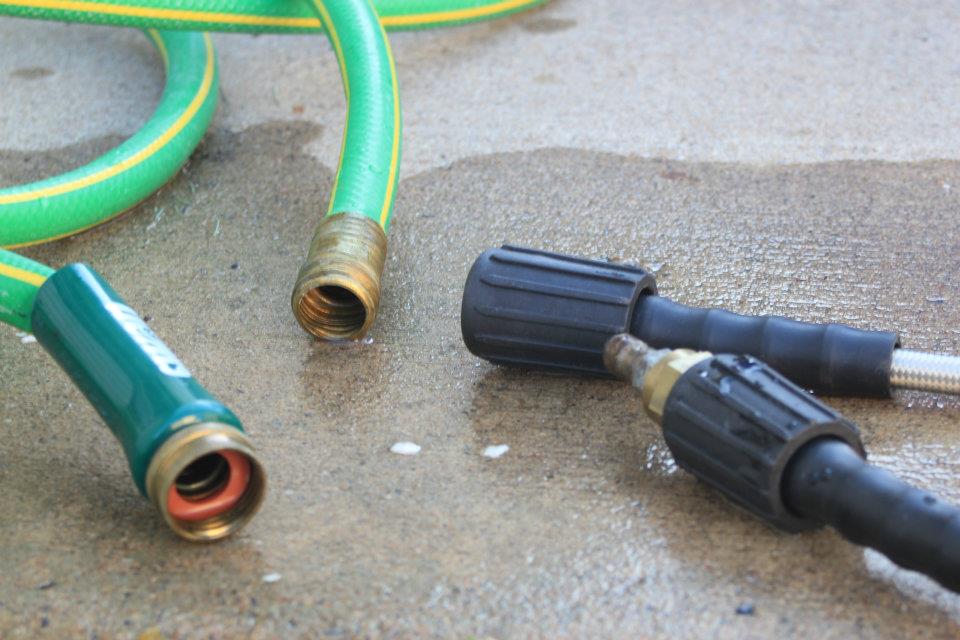
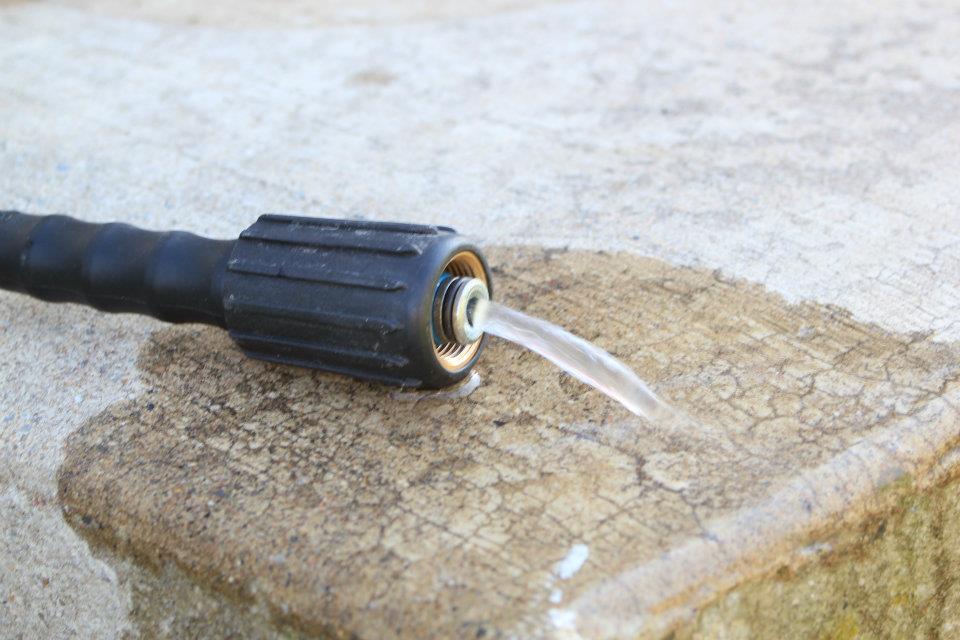
1d) Set Up Pressure Washer
If it's electric, plug in your pressure washer to power outlet. If it's gas powered, make sure the gas tank is full. Connect one end of a garden hose to your water source and the other end to your pressure washer. Connect one of the pressure washer hose to the pressure washer and make sure the other end has the 1/4" MPT (Male) Quick Connect Plug + 22mm Adapter x 1/4" FPT (Female) assembly connected to the end of the hose that will attach to the snowmaker.
Starting Up
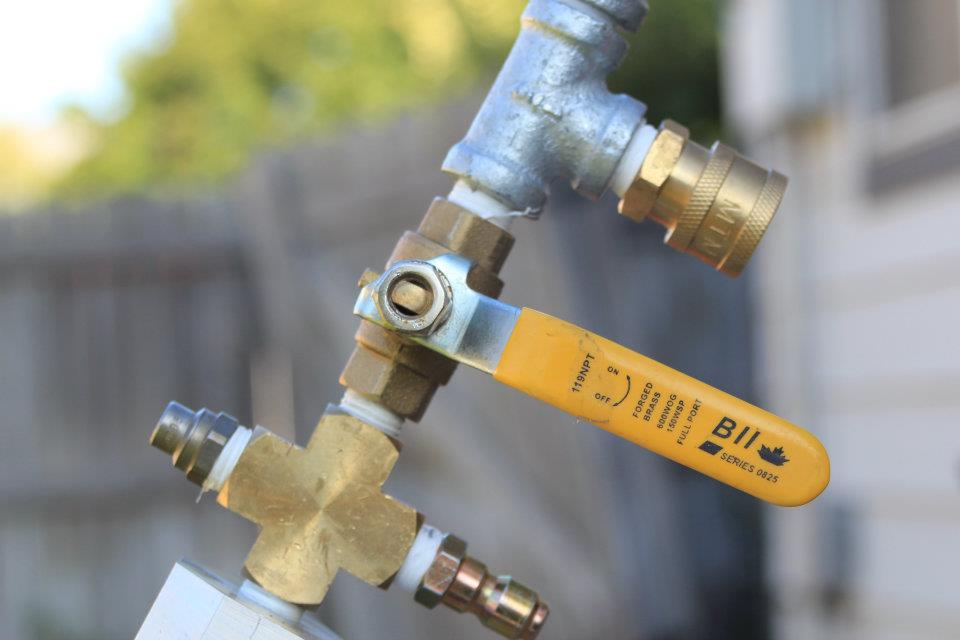
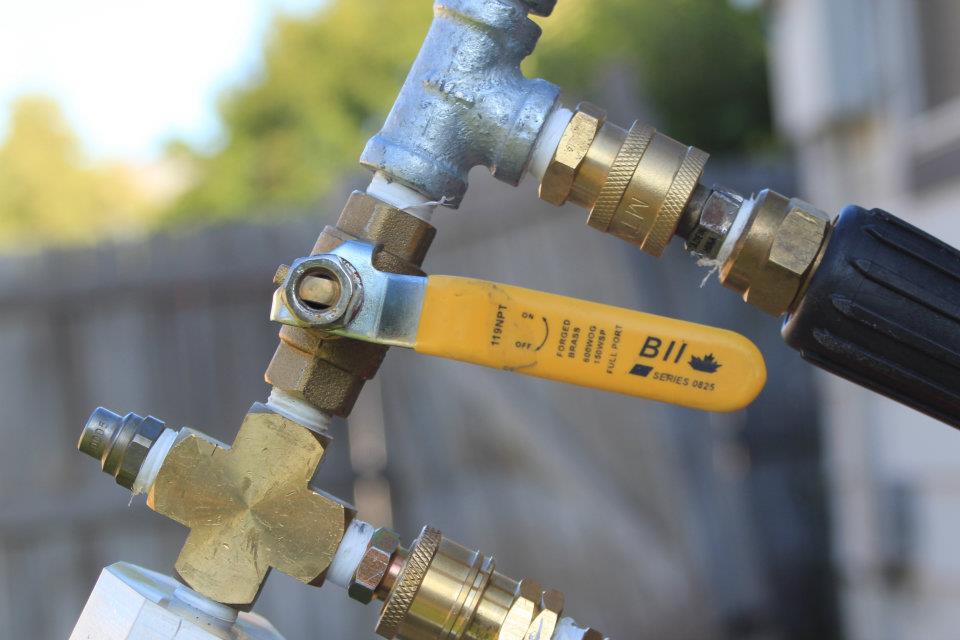
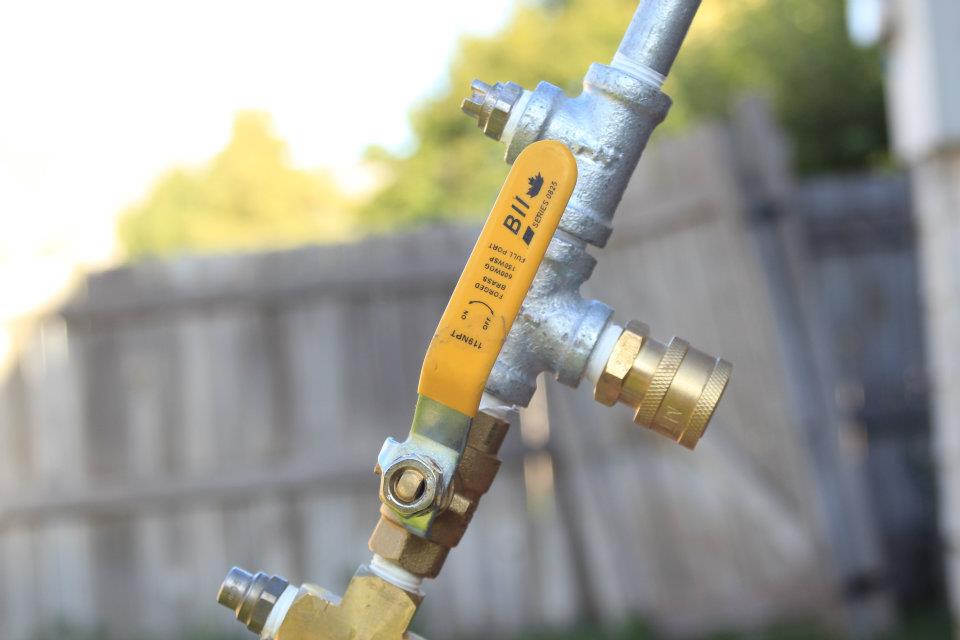
2a) Close the Valve
When the valve is perpendicular to the body of the valve (or horizontal), the valve is closed.
Starting Up
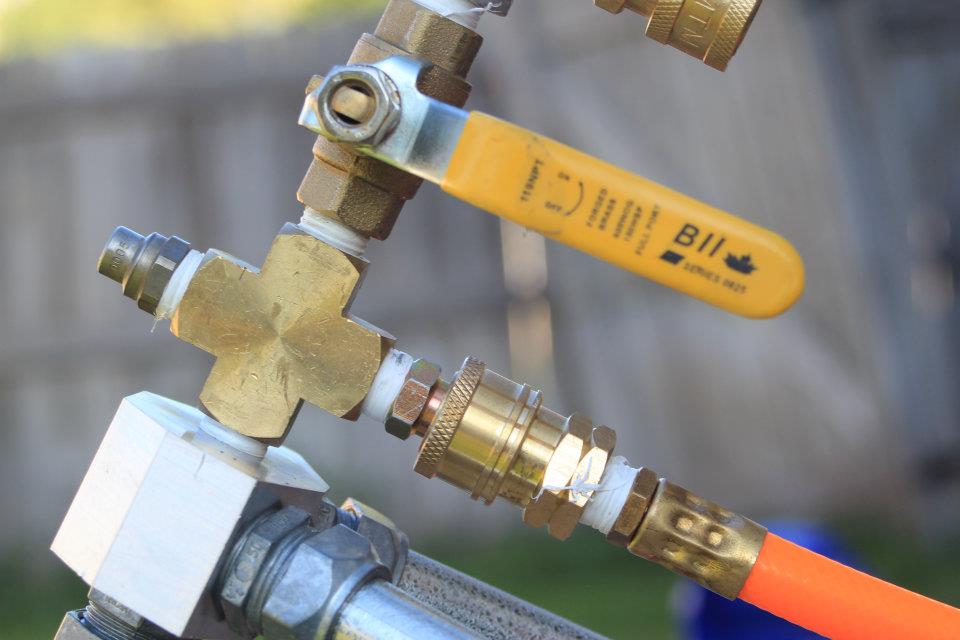
2b) Connect Air Hose
Connect the air hose to the snowmaker below the valve.
Starting Up
2c) Turn on Air Compressor
Turn on the air compressor. You can actually open the regulator all the way up because the snowmaker will naturally regulate the pressure.

Starting Up
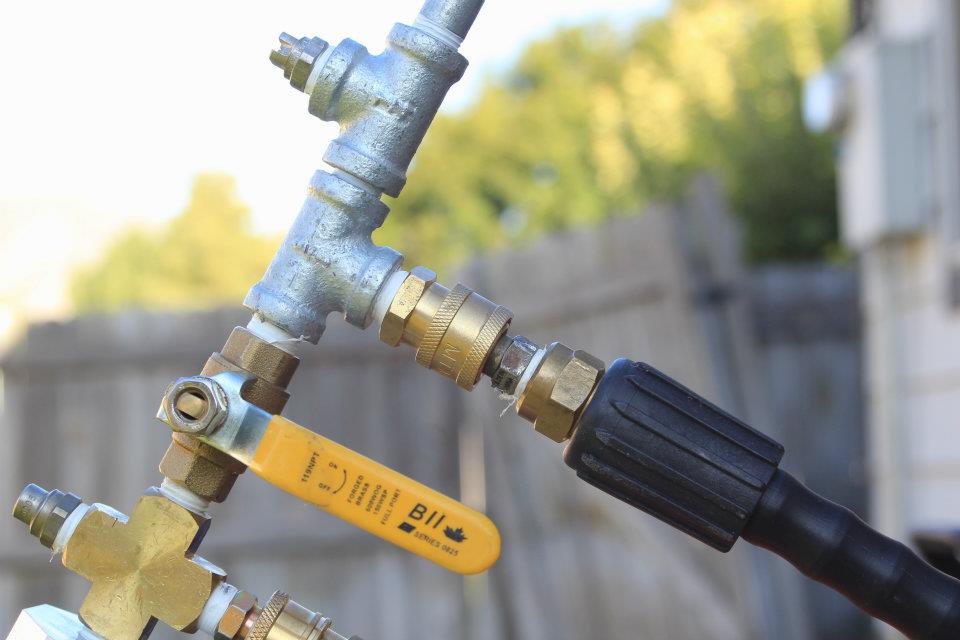
2d) Connect Pressure Washer Hose
Connect the pressure washer hose to the snowmaker above the valve.
Starting Up
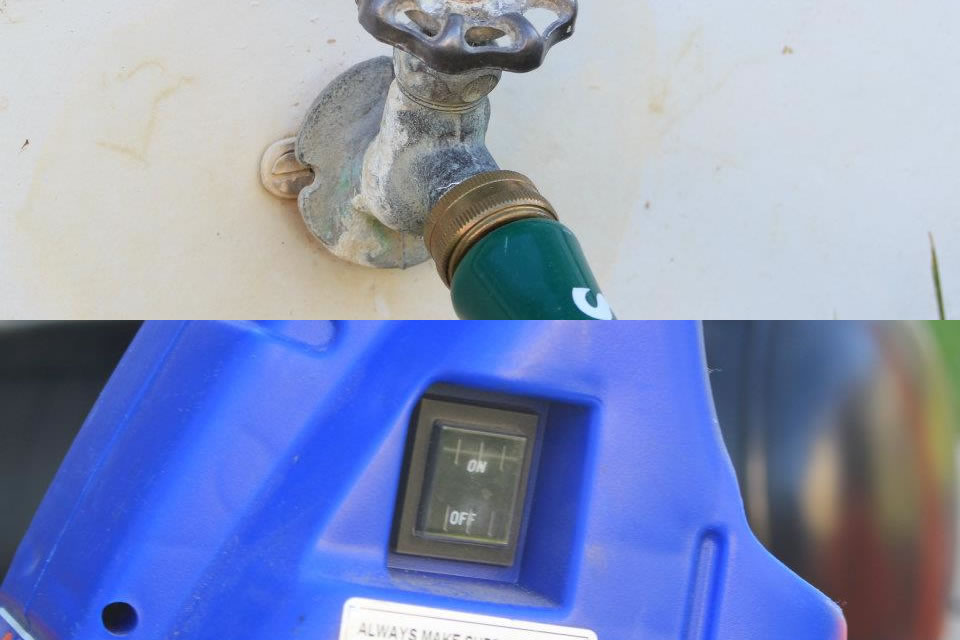
2e) Turn on Water & Pressure Washer
First turn on the water spigot where the garden hose is attached. Once water is flowing through the nozzles of your snowmaker, turn on the pressure washer. Turning on your pressure washer without water running through it can damage it.
Starting Up
2f) Open the Valve a Tiny Bit
Now, slowly open the valve until just a tiny bit of water comes down and mixes with the air. A light mist will come out of the bottom nozzle. If there are any large drops "spitting" out with the mist, close the valve a tiny bit until the spitting stops and only mist is coming out.
Making Snow
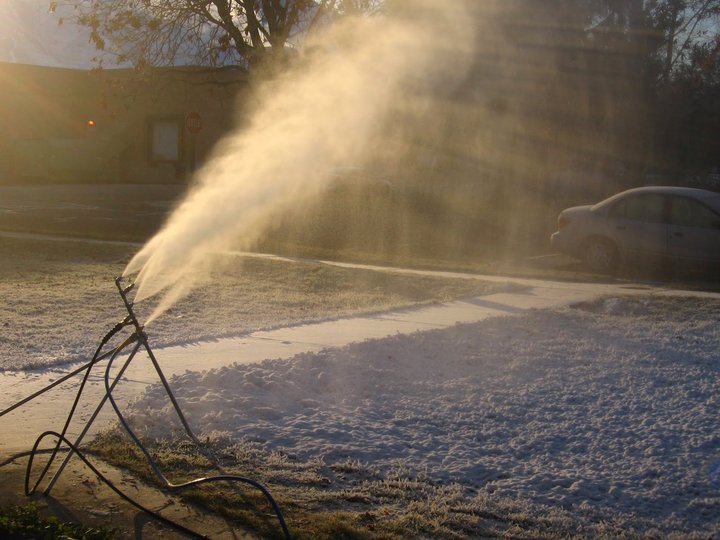
3a) You're Making Snow
That's it! If it's cold enough, you should be making snow now. By and large, the biggest issue people have is not waiting for it to be cold enough. If you are just making ice, wait until the temp drops 2° F (1° C) and try again.
Making Snow
3b) Keep an Eye on Things
Keep a close eye on your snowmaker to be sure that your air compressor and pressure washer is still running and things are going smoothing.
Making Snow
3c) Adjust Valve if Needed
At about 10 minutes into your session, check on the valve to make sure the mist coming from the bottom nozzle is still the way it was when you started. If it isn't, readjust the valve until it is.
Shutting Down
4a) Close the Valve
Remember, the closed position is when the handle is perpendicular to the valve body.
Shutting Down
4b) Turn off Pressure Washer & Water
Turn off your pressure washer and unplug it if it is electric. Turn off water at spigot.
Shutting Down
4c) Disconnect All Water Hoses
Disconnect both sides of the garden hose from the spigot and pressure washer and both sides of the pressure washer hose from the snowmaker and pressure washer.
Shutting Down
4d) Open the Valve
Open the valve and wait about 10 seconds for the air to blow the water out of your snowmaker.
Shutting Down
4e) Clear Water from Hoses
Clear water from your water lines by reattaching the pressure washer hose to the snowmaker and letting the air push the water out of the hose. Once it's clear, put the other end of the pressure washer hose up to one end of the garden hose and let the air push the water out of that hose as well.
Shutting Down
4f) Turn off Air Compressor
Turn off your air compressor and unplug it if it is electic.
Shutting Down
4g) Bring it All Inside
It doesn't need to be your living room, just somewhere warm (above freezing) like a garage, basement, or heated shed.
5) Repeat
Do the same thing tomorrow :)